Home 

IBM 5160  -  Motherboard Versions


Photos of some IBM 5160 motherboards are at here.

According to IBM user documentation, there are two versions of the motherboard.

IBM differentiated them by the amount of RAM that it was possible to fit into the motherboard's RAM sockets:
   • 64-256KB
   • 256-640KB

Both were not released simultaneously.  The 64-256KB motherboard was supplied in early model 5160's, and the 256-640KB motherboard was supplied in later model 5160's.

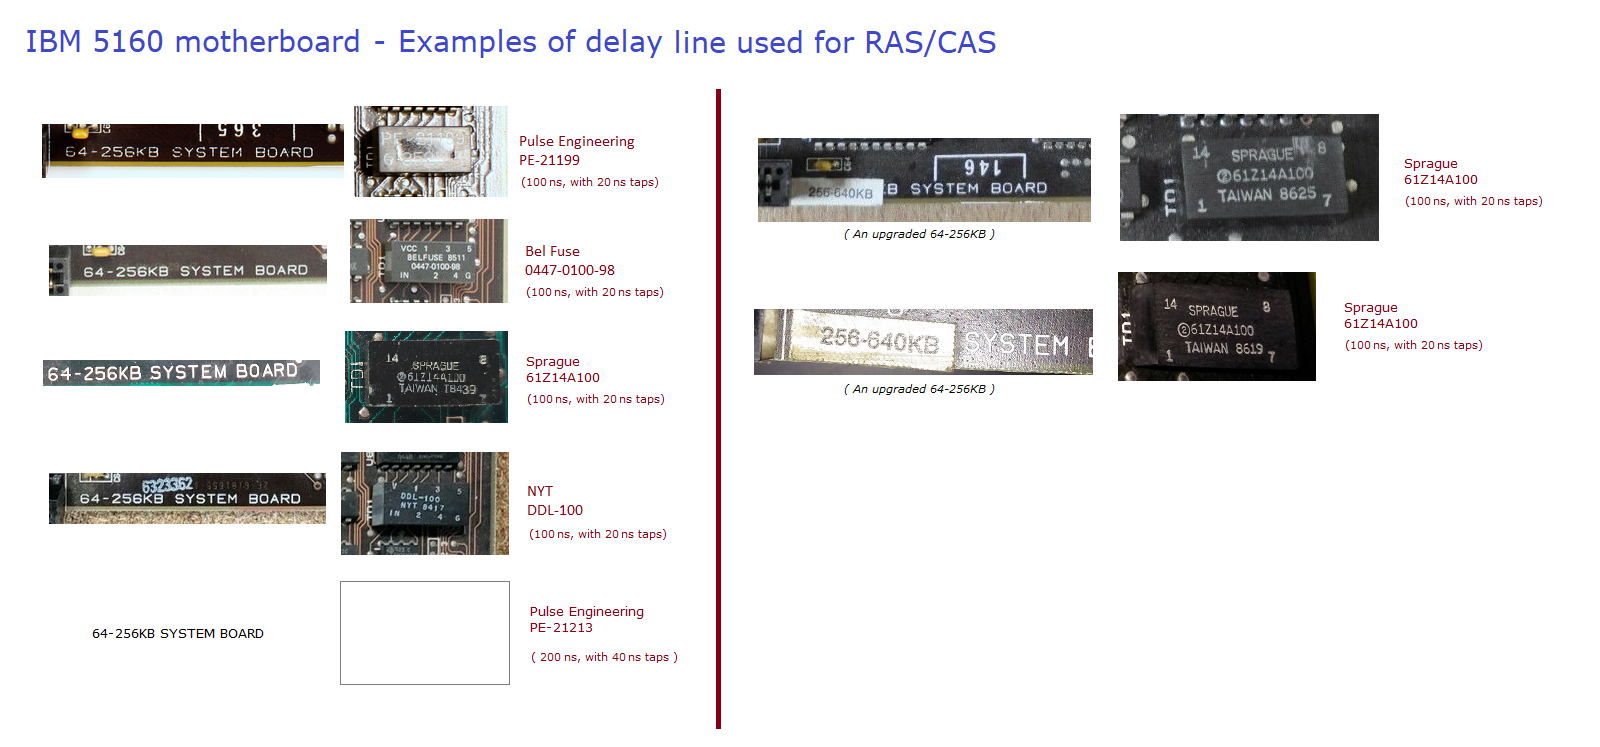
It is beyond the scope of this web page to discuss/document what some people may call sub-versions.  For example (one example of many), the two different ways that delay TD2 was implemented.


Example marking Motherboard RAM     Comments
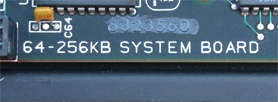
5160_label_64_256kb.jpg  4 banks of 64 KB  • "64-256KB SYSTEM BOARD" is printed on the motherboard.
 
 • Detail on the RAM for this motherboard is here.
 • Supplied with the 11/08/82 revision of BIOS.
 • This motherboard is also found in the IBM 5155.
 • A modification is possible so that 640K of RAM can be fitted on the motherboard.  See note 1.
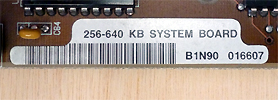
5160_label_256_640kb.jpg 2 banks of 256 KB
and
2 banks of 64 KB
 • "256-640KB SYSTEM BOARD", or part of that, appears on a motherboard label.  Some label examples appear at here.
    I have yet to see a photo where it all is printed directly on the motherboard.
 
 • Detail on the RAM for this motherboard is here.
 
 • Supplied with either the 01/10/86 or 05/09/86 revision of BIOS.


Note 1 An IBM supported modification is possible that allows 640K of RAM to be fitted in the RAM sockets of the 64-256KB version of IBM 5160 motherboard.  <----- 5160, not 5150
In effect, it converts the 64-256KB motherboard to a 256-640KB one.
You will need certain parts.  The procedure can be found here.
Be sure to keep track of what you do, so that if things do not work out, you can undo what you have done.
If you are successful, consider marking the motherboard in some way to remind yourself (and others) that the motherboard has been modified.

As part of the upgrade to 256-640KB, upgrading the motherboard BIOS to a 1986 dated one is optional.

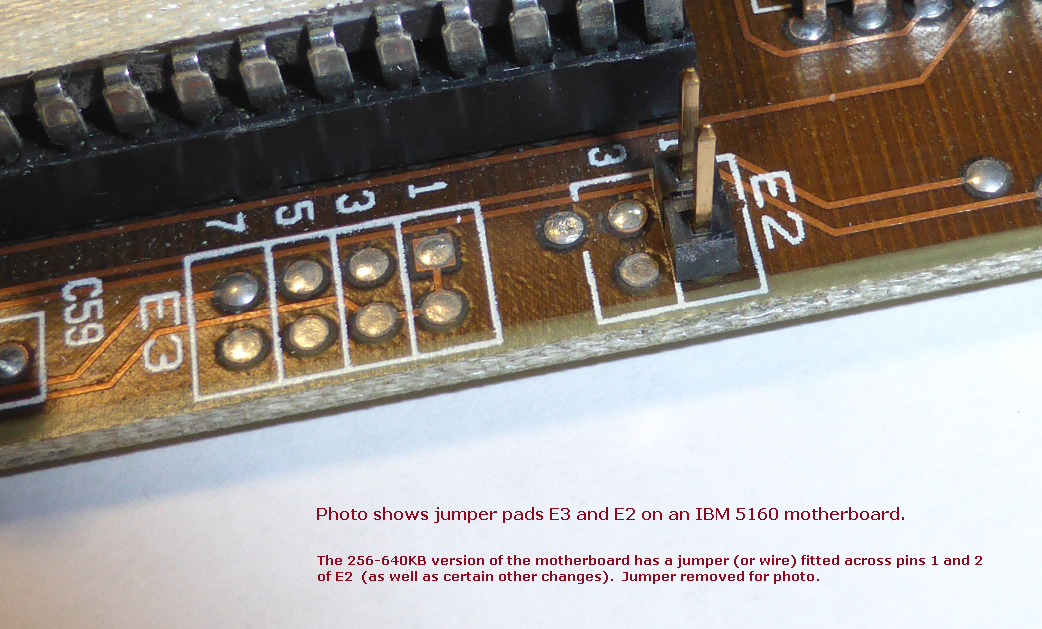
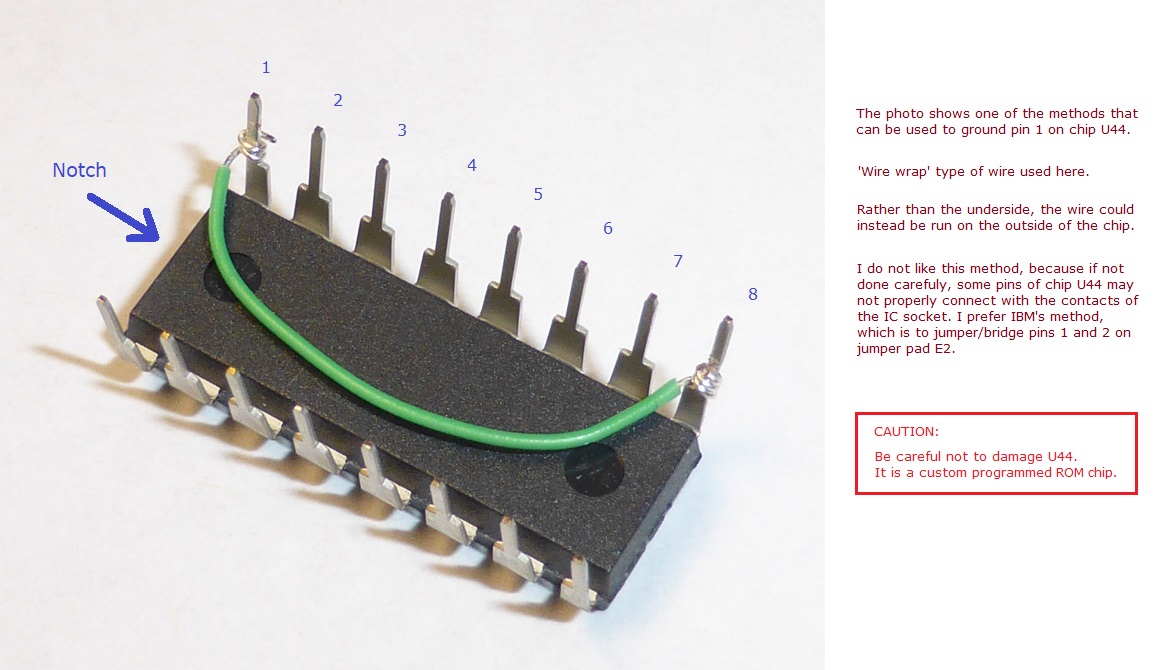
Note that as the pointed-to procedure indicates, the jumpering of pins 1 and 2 on jumper pad E2 (photo), is the same as connecting pins 1 and 8 of U44 together via wire (photo).  Both achieve the desired outcome, which is the grounding of pin 1 of U44.  Your choice as which of those two methods you use.